Sarah Walworth Sarah Walworth

What is pattern grading?

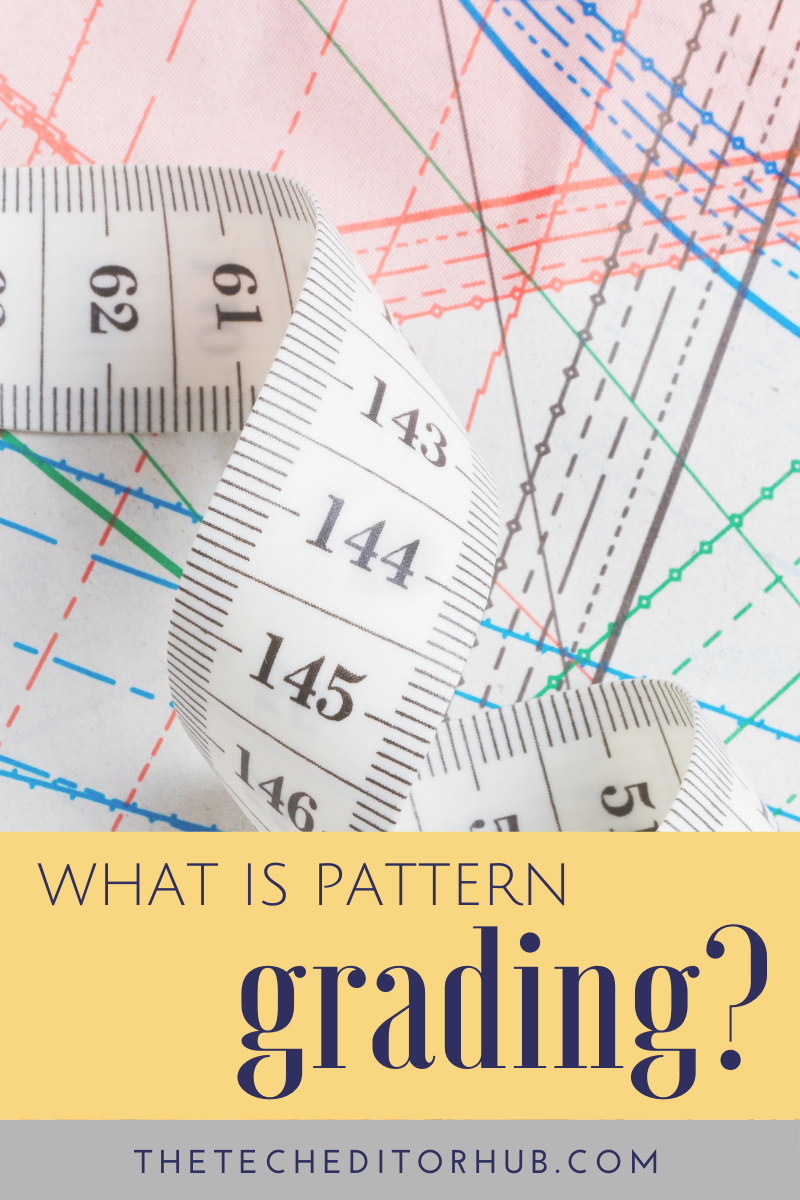
What is pattern grading? The Tech Editor Hub explains the process and how it is different in sewing and knitting and crochet patterns and how to know if a pattern has been graded well.

Grading is the process of creating a range of sizes from a single sample size in a garment design. Grading is also commonly called sizing or multi-sizing a pattern, making it larger and smaller to fit the body sizes the design is intended for in the same way that the sample size does, with all the same design elements and style. It is a skill that requires the knowledge of garment construction, design, and fit, as well as the necessary technical skills specific to the area of garment production (ready-to-wear, sewing patterns, knitting/crochet patterns).

When does grading happen?

Grading comes after all design decisions have been made, most importantly after a test garment or sample is finished and the fit and design eases are confirmed. Depending on how the garment will be produced, the pattern for that one size may also be written or drawn out before the grading process begins.

How is grading done?

Here is where the process gets its name: grading is accomplished by using grade rules. These are measurements applied at specific points of the pattern to increase or decrease the total size by a particular measurement, which is also called a grade.

Grading in flat pattern

two sewing pattern pieces lay side by side, the black lines show 4 sizes graded

paper sewing pattern pieces graded to 4 sizes

In garment manufacturing and in the sewing industry, pattern graders apply grades and size specifications to each flat pattern piece systematically to produce all the sizes required. Grading is often done using specialized computer software, but it can be done manually using rulers and other tools to cut and spread or shift the base pattern to produce the sizes. Each size has its own set of pattern pieces that are then used to cut out the fabric and construct or manufacture the garment.

Grading for flat pattern does not change the shape of the base design, but only increases or decreases the size. This means that there often needs to be more than one sample made to accommodate the changing body shapes as the sizes increase or decrease.

Grading for knitting and crochet patterns

In garments that are made with yarn, the fabric is produced at the same time as the garment pieces, so there are no physical pattern pieces used in the garment production. Instead, the grader (which can be the designer or a technical editor) uses spreadsheet calculations to apply the grade rules to the sample pattern measurements. They then write the pattern instructions that will reproduce the design for the various body sizes, including a schematic drawing and/or table that illustrates the finished measurements (and sometimes more instructions).

a table of knitting pattern measurements in inches and centimeters

schematic table for a knitting pattern

Grading for designs made with yarn is more flexible than in flat pattern because the grader is working with numbers and calculations, not physical patterns. Thus, there is rarely a need to make multiple samples and the shape of the garment can be easily adjusted so the finished pattern fits all the sizes well. 

Want to know if your knitting or crochet design is ready for grading? Read more here.

What grading is not

Grading is not adding or subtracting the same amount of design ease at every part of the pattern, nor applying the same percentage change everywhere.

As body sizes increase and decrease, the various body parts do not increase/decrease at the same rate. For example, if a chest circumference increases from one size to the next by 2”/5 cm, the neck circumference may only increase by ⅛”/0.3 cm. So adding the same 4”/10 cm of design ease at both the chest and neck as the sizes increase would yield a catastrophically ill-fitting garment.

What is a “good grade”?

  • A well-graded pattern results in the same fit for all the body sizes. In each size, the neckline is proportional to the neck, the cuffs and hem all end at the same point on the body, and fit in the arms, chest, and hips are all the same. 

  • A well-graded pattern also takes every design detail and scales it correctly to the body size: trims, pockets, cuff depths all will match the sample size in style.

  • A well-graded pattern is inclusive in its size range. It is available for all body sizes in the market that the pattern is being sold to; no body size is excluded.

Want to learn how to grade knitting and crochet patterns?

Sign up here to be notified when our Masterclass on Grading opens for enrollment.

Like this article? Click Share below!


Sarah Walworth is an instructor for A Masterclass on Grading and the owner of the Tech Editor Hub. She is a tech editor, knitting instructor, and loves to solve grading problems. You can find out more about her at www.sarahwalworth.com.

Read More
Sarah Walworth Sarah Walworth

Is my pattern ready to grade?

Is your design ready to be graded or made available in different sizes? This blog post takes you through each essential design aspect to have in place before you start the grading process. Also included is a worksheet to add to your design process!

When you are designing, there are many tasks to accomplish before publishing, and it helps to have things lined up so you don’t have to backtrack and lose momentum in your process. This post outlines all the aspects of a design to have in place and/or have completed before you sit down to that spreadsheet and begin figuring out the instructions for your size range. Scroll down for a PDF download of this article you can keep on hand to help streamline your design process!

There are seven important aspects of a design that need to be in place before you can begin grading. If you don’t have these finished, you might get halfway through your grading and have to go complete these tasks in order to grade your pattern more easily. Stay a step ahead and think through or gather all this information so you can grade without any issues.

Design intention

First and foremost, put some thought into whether or not your design can be easily graded into multiple sizes, so that every size can have the same outcome and end up with something that matches your sample. Consider:

  • Is there anything in your design that might make it a more difficult task?

  • Is there a large motif that may need to be modified to fit a larger or smaller size?

  • Does a motif need to end or begin on a certain part of the body in order for it to work?

  • Is there asymmetry that ends on a part of the body that would be difficult to calculate?

  • Will certain fit aspects need to have special consideration such as oversized or a negative ease garment?

None of these aspects are deal breakers for grading, but they may require more time to problem solve. You may also have to decide how to present the design to your customers in a way that holds true to your design intention if these aspects make a different result across sizes.

Note: Under no circumstance would we recommend limiting your size range because of any of these aspects. It is always worthwhile to have an extensive size range for your design so every size person can make it!

Second, get very clear on what exactly your design will look like on a person. How will it fit the body, the head, the foot, or the hand? Is it relaxed, oversized, or fitted? Where on the body do the various parts of your design sit or where do you intend for the hems or cuffs to end? It may help to have sketches of your design on various body sizes if you are making a garment. Write all of the fit aspects down in one place so that when you are grading, you can cross check that you have met your design intention.

Third, make note also of where your customers can customize their creation. Will they be able to modify length, width, or circumference of various parts to better fit their own bodies?

Stitch patterns

 Calculate how your stitch patterns fit into your pattern and into the fabric of your design. Consider:

  • What are the stitch multiples?

  • Are there mirroring stitch patterns for left and right?

  • Are there edge stitches that need to be included into the total stitch count at various parts of the design?

Carefully record all the stitch patterns used in your design, where they are used, and how various patterns might flow or fit together.

Gauge

Before you can begin any grading tasks, you must have very accurate information on the gauges of all the stitch patterns used in your design. You can gather this from your finished sample or from a large stitch pattern swatch.  You can get the most accurate gauge from a finished sample (because you most likely will have more surface area to measure). Measure a large portion in the stitch patterns at various points and record this information in your measurement system (inches or centimeters).

Note: We highly recommend that you complete an entire sample of your design before you begin the grading process. While it is not imperative to complete this step before grading, you’ll most likely save yourself a lot of time and headache if you have a completed sample. If the sample is completely finished, then you would have already worked out some of the kinks and problems in the design and therefore your grading process will be smoother. (And you will avoid having to create a second sample!)

Sample measurements

If your design sample has been completed, take detailed measurements of the piece at all the various points that will require sizing. You can use these numbers later to begin to build your schematic information for your customers. For garments, this might be:

  • neckline

  • back neck width

  • shoulder width

  • armhole depth

  • sleeve length from underarm

  • body length

  • length to various shaping

  • width or length of trims and bands

Keep your design sample on hand so you can refer to it during grading. If you are sending your design to a tech editor to grade, take a lot of pictures of the sample with a ruler so your tech editor can have a way to confirm measurements and use them to determine sizing.

Design ease

Next, compare your sample measurements to the body size that will be your sample size. The positive or negative number at various points is considered the “design ease”. Record these numbers carefully. When you begin grading, this design ease will be applied across sizes so you can calculate your finished garment measurements before calculating stitch and row/round counts and shaping.

Sample stitch counts and instructions

This information is most important for when you are writing the pattern, but can happen at different times in the design process depending on how you design.

Some designers completely figure all the stitch counts and row/round counts and instructions before they begin the sample creation. This method works especially well if you are using a sample knitter or crocheter as part of your design process. Other designers use their sample creation as part of the design process to hone and work out all of their ideas on the needle or hook.

Whichever type of designer you are, the actual stitch counts, row/round counts, increases and decreases, and all the shaping information has to be put into a format for the pattern instructions. Some designers do this in a spreadsheet that they use for grading that then can be exported into a document. Others just use a document that they update as they work through the design process.

Ultimately you need exact instructions for what your customers do with a hook or needle to produce the design for themselves. At this stage of the process, it’s best to have all the sample information completed so you can begin to think about instructions for all the sizes as you grade.

Body size chart

Your body size chart is the foundation of your sizing process. Choose a size chart that has enough body points on it to meet your design needs. For instance, if you are designing something with a lot of shaping, you will need a chart that has more than a few simple points on it. Here are some free body size charts available online:
Ysolda Teague has published an extensive sizing chart for women.

Extensive knitting size charts for men, women, and children including standards for ease:  www.KnitItNow.com

Children’s size charts for a variety of clothes and apparel: www.childrenssizechart.com

Eileen Casey’s tables of standard measurements: www.eileencaseycreations.com

Craft Yarn Council’s standard body measurements: www.craftyarncouncil.com

Jill Wolcott developed these sizing charts based on years of experience in the clothing industry.

WoollyWormhead on hat sizing: www.woollywormhead.com/sizing

Children’s hat sizing: www.tottoppers.com/sizing/

Optional things

You may find it helpful to start to set up a grading spreadsheet before you begin to grade. This may help you begin to think about all the parts of your design and how they need to be sized.

Many tech editors and designers gather book and online resources that directly relate to design they are working on: helps for the construction, shaping formulas, tips and even other patterns they know work well.

To sum up

Getting your design ready to grade isn’t difficult. It may only take a little organization of the information you already have ready in your design process: your design intention, your stitch pattern information and gauges, your sample measurements, and the size chart you want to use to grade.

Cover of the PDF download with title: 7 Essential Pre-Grade Tasks, a checklist to save you time and effort in your design process

Download a PDF of this article for free

.

Sarah Walworth is an instructor for A Masterclass on Grading and the owner of the Tech Editor Hub. She is a tech editor, knitting instructor, and loves to solve grading problems. You can find out more about her at www.sarahwalworth.com.

Read More

Sign up for our email list to get the latest on The Tech Editor Hub.


You might also enjoy:

INstagram: