

The truth about the role of a tech editor
What is the true job and responsibility of the technical editor of patterns? I thought our job was to make sure the pattern was correct as written, that what was printed on the page worked out mathematically and was easy to follow, and it is that—but is that all? Are they the numbers the designer wants, just because the math works out? Is it our job to know what the designer wants, to question what is in front of us?
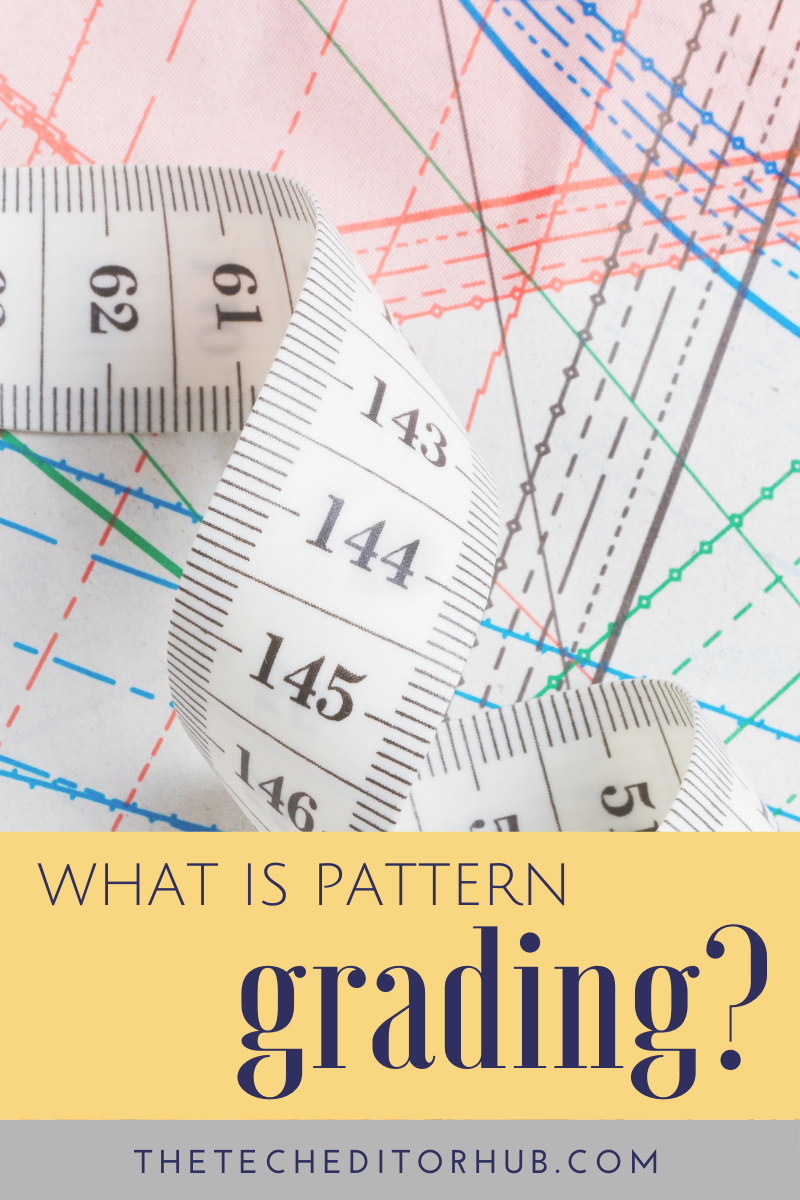
What is pattern grading?
What is pattern grading? The Tech Editor Hub explains the process and how it is different in sewing and knitting and crochet patterns and how to know if a pattern has been graded well.
Sign up for our email list to get the latest on The Tech Editor Hub.

You might also enjoy:


INstagram:


